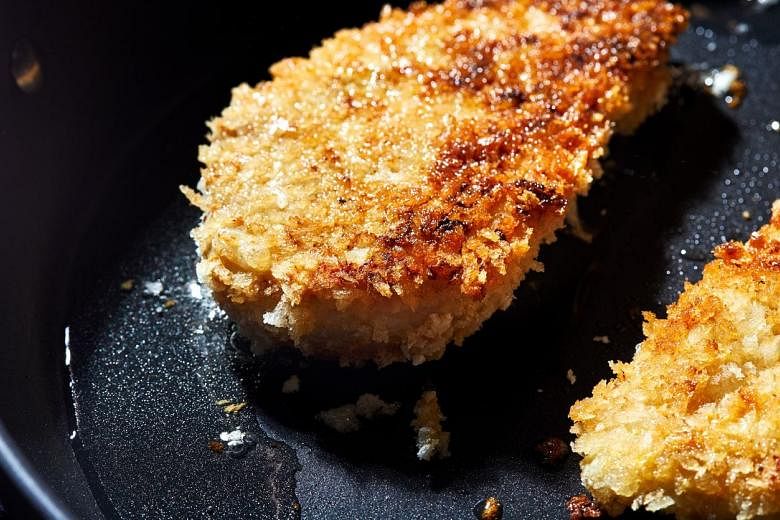
(THE WASHINGTON POST) - It's hard to beat the versatility of a breaded chicken cutlet - on a salad, in a sandwich, over a bed of mashed potatoes. You can't go wrong.
The key to evenly cooked, juicy cutlets is using pieces that are thinner than the boneless, skinless chicken breast halves straight out of the package (which often have tenderloins attached, the source of chicken tenders). Thinner pieces will also cook quicker, which is ideal for a weeknight dinner.
Pounding the breasts is a common solution, but that's a hassle I prefer to avoid. Plus, I found that the more you pound, the wider they become. I wasn't interested in pieces the size of my plate, which are better suited for making schnitzel.
Instead, I cut the breasts in half horizontally. (You could buy cutlets, but they're more expensive and I like to have greater control over the thickness.) Aim for portions that weigh 113g to 170g and are about 1.3cm thick. Some very large breasts can even be cut into thirds. It just depends on what's in the package.
Then there's the matter of breading. So many recipes call for it, but it can be problematic. First you dip the chicken in flour, which helps the egg to stick. Then you dip it in egg, which helps the bread crumbs to stick. Last, you dip it in bread crumbs, and hope they stay on. I've done this three-part manoeuvre many times, and I can't say I ever enjoyed it - or the mess it makes.
I wanted to find an easier way. (A recipe I tested several years ago from the America's Test Kitchen online cooking school helped inform my process.) The goal was to get a good base coat on the chicken so the bread crumbs have something to stick to. A base coat with flavour is a nice bonus. Mustard came immediately to mind, as did mayonnaise. Because I wanted to ensure a crispy outside, I turned to panko, the Japanese bread crumbs whose texture bumps up the crunch even more.
I was so happy with the result I had to wonder why it took me so many years to get here. The mustard was definitely the more flavourful option, with a tang that still works well in a lot of settings. Even when generously applied, the mustard does not overpower. Mayo was acceptable, if bland, but you could also try experimenting with flavoured varieties. (We used chipotle-flavoured mayo in one recipe test.)
You can mix up your flavours even more by adding other ingredients to the coating, whether it's Parmesan cheese, fresh herbs or dried spices.
MAKE AHEAD
The cutlets can be made a day or two in advance and refrigerated. Reheat in a 177 deg C oven for 10 to 15 minutes until the crust is crisp and the chicken is warmed through. Or reheat in a skillet with a little bit of oil and cook on both sides.

INGREDIENTS
2 boneless, skinless chicken breast halves (227g to 312g each; tenderloins removed)
2 Tbs Dijon mustard, or more as needed
Kosher salt
Freshly ground black pepper
1cuppanko bread crumbs, or more as needed
4 Tbs canola or vegetable oil, or more as needed
METHOD

1. Use a sharp knife to cut horizontally through each breast half. Move the knife through so the meat eventually opens like a book. Separate the two halves. (Trim and discard any visible globs of fat.)
2. Spread the panko bread crumbs in a shallow dish, such as a pie plate.
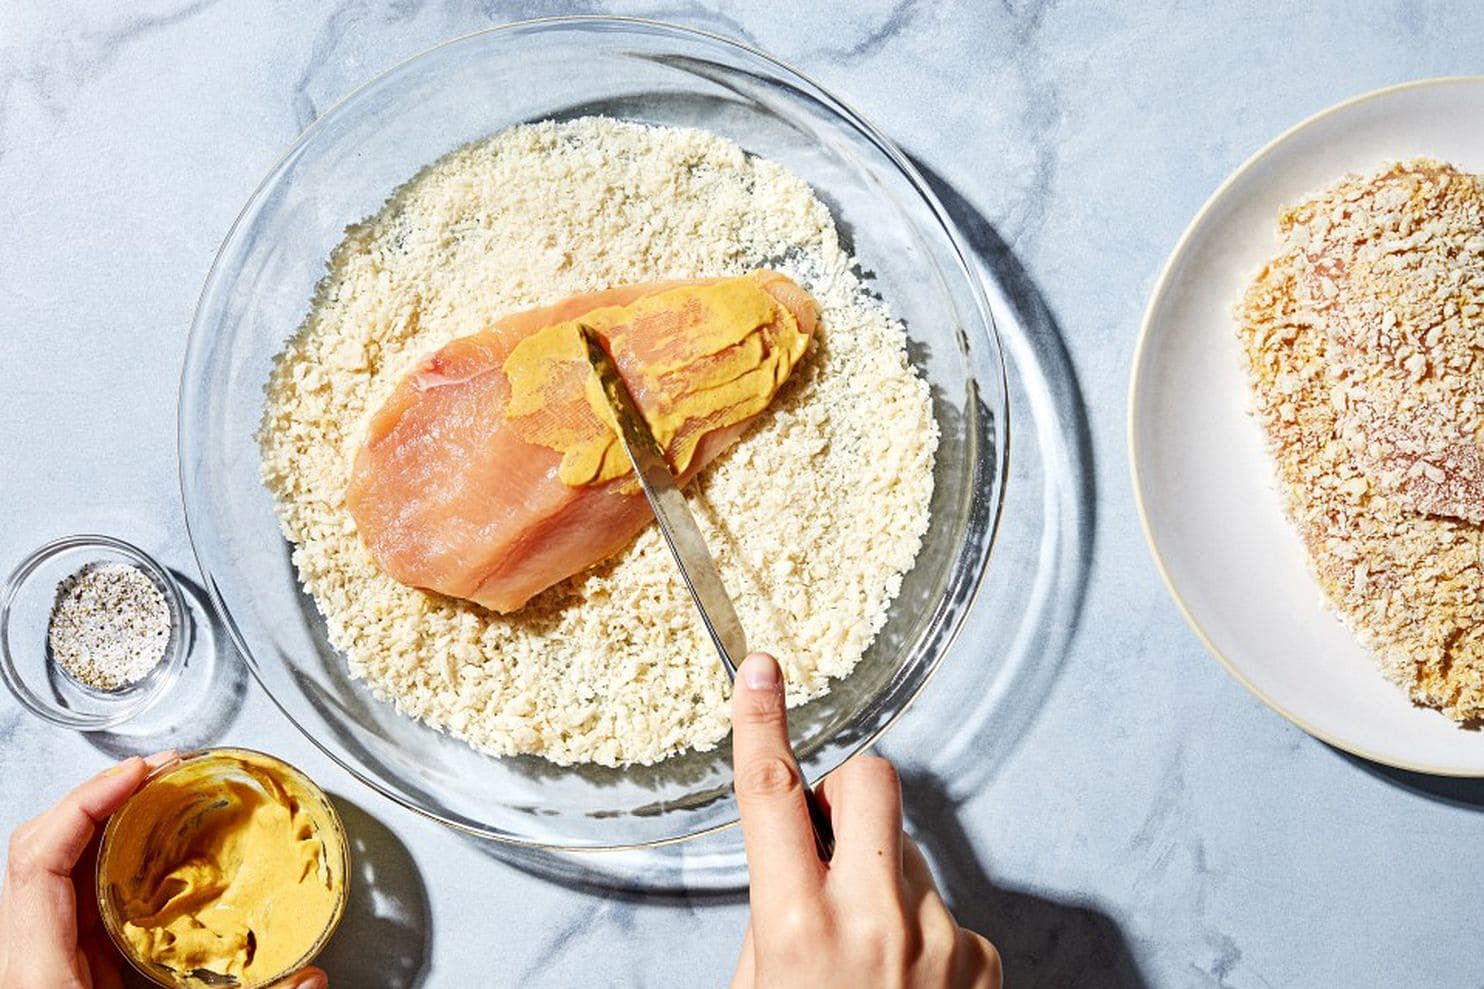
3. Use a brush or table knife to spread the mustard on the top side of a cutlet. (A thick coating will help the panko stick; apply more liberally than you would, say, a sandwich spread, but you should still be able to see the meat.) Sprinkle generously with salt and pepper. Place the mustard-coated side of the chicken face down in the panko and press to adhere. Coat the other side of the chicken with the mustard, season lightly with salt and pepper and flip to finish coating with the panko. Transfer to a plate; repeat with the other 3 cutlets, adding more panko to the dish, as needed.
4. Let the breaded chicken cutlets rest for a few minutes to help the coating set and dry.
5. Meanwhile, heat the oil in a large non-stick skillet over medium-high heat. Line a plate with paper towels.
6. Once the oil shimmers - it will almost ripple - place 2 of the cutlets in the pan (laying them in away from you, so the end closest to you hits the pan first), leaving room between them. Cook for about 2 1/2 minutes, until they are golden brown and crisp on the bottom, gently pressing down on the cutlets (a wide spatula is good) to help ensure even browning. If you get hot spots in the pan or if your oil is pooling on the sides, give the skillet a gentle shake to move things around.
7. Use a fork to turn over the cutlets (tongs may dislodge the breading); cook until the meat feels firm and the second side is deep golden brown and crisp, 2 1/2 to 3 minutes, reducing the heat as needed to keep the breading from burning. The internal temperature of the meat should register 73 deg C on an instant-read thermometer; when you cut into the centre, no trace of pink should remain. Transfer them to the lined plate.
8. If you reduced the heat during the cooking of the first batch, return it to medium-high once again, adding more oil as needed; once the oil is shimmering, repeat with the remaining 2 cutlets.

Serve warm or at room temperature.